
There’s something incredibly comforting about the phrase "dump cake." Despite the less-than-elegant name, dump cakes are beloved for their simplicity, speed, and downright deliciousness. Combine that with the classic flavors of strawberry cheesecake, and you've got a dessert that hits all the right notes. Whether you’re an experienced home baker or someone just learning the ropes, a Strawberry Cheesecake Dump Cake is one of the easiest ways to impress your guests—or treat yourself!
This cake brings together the tart sweetness of strawberries, the creamy tang of cheesecake, and the buttery, golden goodness of cake—all with minimal effort. In this guide, we’ll not only show you how to make a foolproof strawberry cheesecake dump cake, but we’ll also dive into tips, variations, and ideas to make it your own.
What Is a Dump Cake?
A dump cake is exactly what it sounds like: a dessert where you “dump” ingredients into a pan, layer by layer, and bake it—no complicated mixing, kneading, or frosting involved. Unlike traditional cakes that require precise measurement and careful mixing to ensure structure and rise, dump cakes rely on a looser structure and a combination of textures. The result is a cross between a cobbler and a cake, often with a soft, gooey filling and a golden, crumbly topping.
Dump cakes became popular in American kitchens in the mid-20th century, particularly during the rise of convenience foods like canned pie fillings and boxed cake mixes. They’re an especially great go-to recipe for busy families, potlucks, or anyone who wants dessert with minimal cleanup.
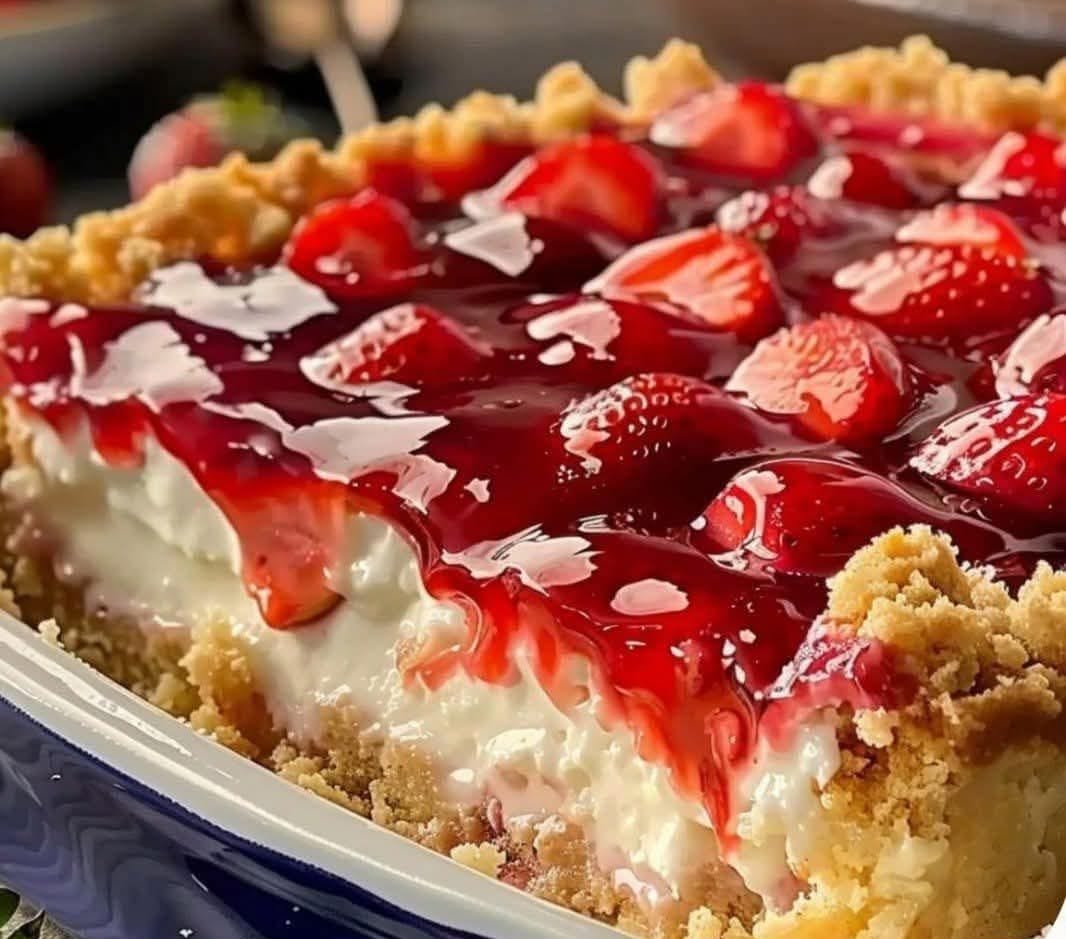
The Perfect Flavor Fusion: Strawberry + Cheesecake
Strawberries and cheesecake are a match made in dessert heaven. The bright, slightly tart flavor of strawberries contrasts beautifully with the rich, creamy tang of cheesecake. When you turn these flavors into a dump cake, you get layers of flavor and texture that feel surprisingly decadent for such an easy-to-make treat.
Ingredients You’ll Need
This Strawberry Cheesecake Dump Cake keeps things simple but still delivers maximum flavor. Here's what you need:
Base Ingredients:
- 1 can (21 oz) strawberry pie filling
This is the fruity base layer. You can also use homemade strawberry compote if you prefer. - 1 (8 oz) block of cream cheese, softened and cut into small cubes
This brings the cheesecake element to the dish. Use full-fat for best flavor. - 1 box white or yellow cake mix
Either one works well. White cake gives a more neutral flavor, while yellow cake adds buttery richness. - ½ cup (1 stick) unsalted butter, melted
Butter helps crisp up the cake topping and gives it that irresistible golden crunch. - 1 teaspoon vanilla extract (optional)
Adds a warm, fragrant note to the cake.
Step-by-Step Instructions
Now let’s walk through the process of making the perfect strawberry cheesecake dump cake.
Step 1: Preheat and Prepare the Pan
Preheat your oven to 350°F (175°C). Grease a 9x13-inch baking dish with nonstick spray, butter, or a light layer of oil. This helps ensure the cake doesn’t stick to the pan and makes cleanup a breeze.
Step 2: Layer the Pie Filling
Dump the entire can of strawberry pie filling into the baking dish and spread it evenly across the bottom. If you're using homemade filling, make sure it's not too runny.
Step 3: Add the Cream Cheese
Cut the softened cream cheese into small chunks—about ½ to 1 inch in size—and scatter them evenly across the strawberry layer. Don’t worry about making it perfect. When baked, the cream cheese will soften and melt into the filling, creating creamy pockets of cheesecake flavor.
Step 4: Sprinkle the Cake Mix
Take your dry cake mix and sprinkle it evenly over the strawberry and cream cheese layers. It’s important not to stir it in—this is a key part of what gives dump cakes their texture.
Step 5: Pour the Butter
Slowly drizzle the melted butter over the top of the cake mix. Try to cover as much of the surface as possible. This helps the cake topping cook evenly and achieve that golden brown, slightly crisp finish.
Step 6: Bake the Cake
Place the dish in the oven and bake for 45 to 50 minutes. The cake is done when the top is golden and bubbly, and the edges are starting to brown. If any dry cake mix remains on top after 30 minutes, you can gently press it down with a spatula or drizzle on a bit more melted butter.
Step 7: Cool and Serve
Allow the cake to cool for 10–15 minutes before serving. This gives the filling a chance to set slightly and makes it easier to scoop. Serve warm or at room temperature.
Serving Suggestions
Strawberry Cheesecake Dump Cake is delicious on its own, but here are some ideas to take it up a notch:
- Top with a scoop of vanilla ice cream for the ultimate warm-and-cold contrast.
- Add a dollop of whipped cream and garnish with fresh strawberries.
- Dust with powdered sugar for a pretty finish.
- Drizzle with white chocolate or strawberry sauce for added decadence.
Variations and Substitutions
One of the best things about dump cakes is how adaptable they are. Here are a few ways to customize your strawberry cheesecake dump cake:
Use Fresh Strawberries:
Instead of canned pie filling, use 2 to 3 cups of fresh strawberries tossed in ½ cup of sugar and 1 tablespoon of cornstarch. Simmer briefly on the stove to thicken, then use as the bottom layer.
Add a Crunchy Topping:
Sprinkle chopped nuts (like pecans or almonds) or granola over the cake mix before baking for extra crunch.
Swap the Fruit:
Try using raspberry, blueberry, or cherry pie filling instead of strawberry. The basic recipe remains the same.
Make It Gluten-Free:
Use a gluten-free cake mix. Just double-check that your pie filling and cream cheese are also gluten-free.
Add Graham Cracker Crumbs:
For more of a classic cheesecake vibe, sprinkle crushed graham crackers over the top or mix them with the butter before drizzling.
Storing and Reheating
Dump cake stores well and can be made ahead of time. Here's how to keep it fresh:
- Refrigerator: Store leftovers in an airtight container in the fridge for up to 4–5 days.
- Freezer: Freeze individual portions wrapped tightly in plastic wrap and foil for up to 2 months.
- Reheating: Microwave a portion for 30–45 seconds or warm in the oven at 300°F until heated through.
Tips for Success
- Don’t stir the layers! Dump cakes work because the ingredients stay layered and bake into a cobbler-like texture. Stirring can ruin that.
- Use room-temperature cream cheese. It melts more evenly and blends better with the fruit.
- Cover any dry spots. If you notice dry patches of cake mix while baking, press them down gently or drizzle on more melted butter or a bit of milk.
- Let it rest. Allowing the dump cake to cool slightly helps it set and makes for cleaner scooping.
Why You'll Love This Recipe
- Ridiculously easy. No mixing bowls or fancy equipment required.
- Crowd-pleasing flavor. Who doesn’t love strawberry cheesecake?
- Perfect texture. Creamy, gooey, and crispy all in one bite.
- Customizable. Adapt it to suit your taste or dietary needs.
Final Thoughts
The Strawberry Cheesecake Dump Cake is proof that you don’t need a culinary degree—or even much time—to create a dessert that tastes like it took hours. With just a few ingredients and some simple layering, you can whip up a sweet, creamy, and fruity masterpiece that’s perfect for any occasion.
Whether you’re bringing it to a family gathering, making it for a holiday celebration, or just treating yourself after a long day, this dessert is sure to become a favorite. Try it once, and you’ll likely come back to it again and again.